Roland Juno 106, 106S & HS-60 Repair / Calibration Tips & Information
We've literally restored thousands of Roland synthesizers. If you're not the DIY type, we can repair your synth for a reasonable fee. Please feel free to contact us for more information regarding rates and availability.
Common problems we run into with Junos are:
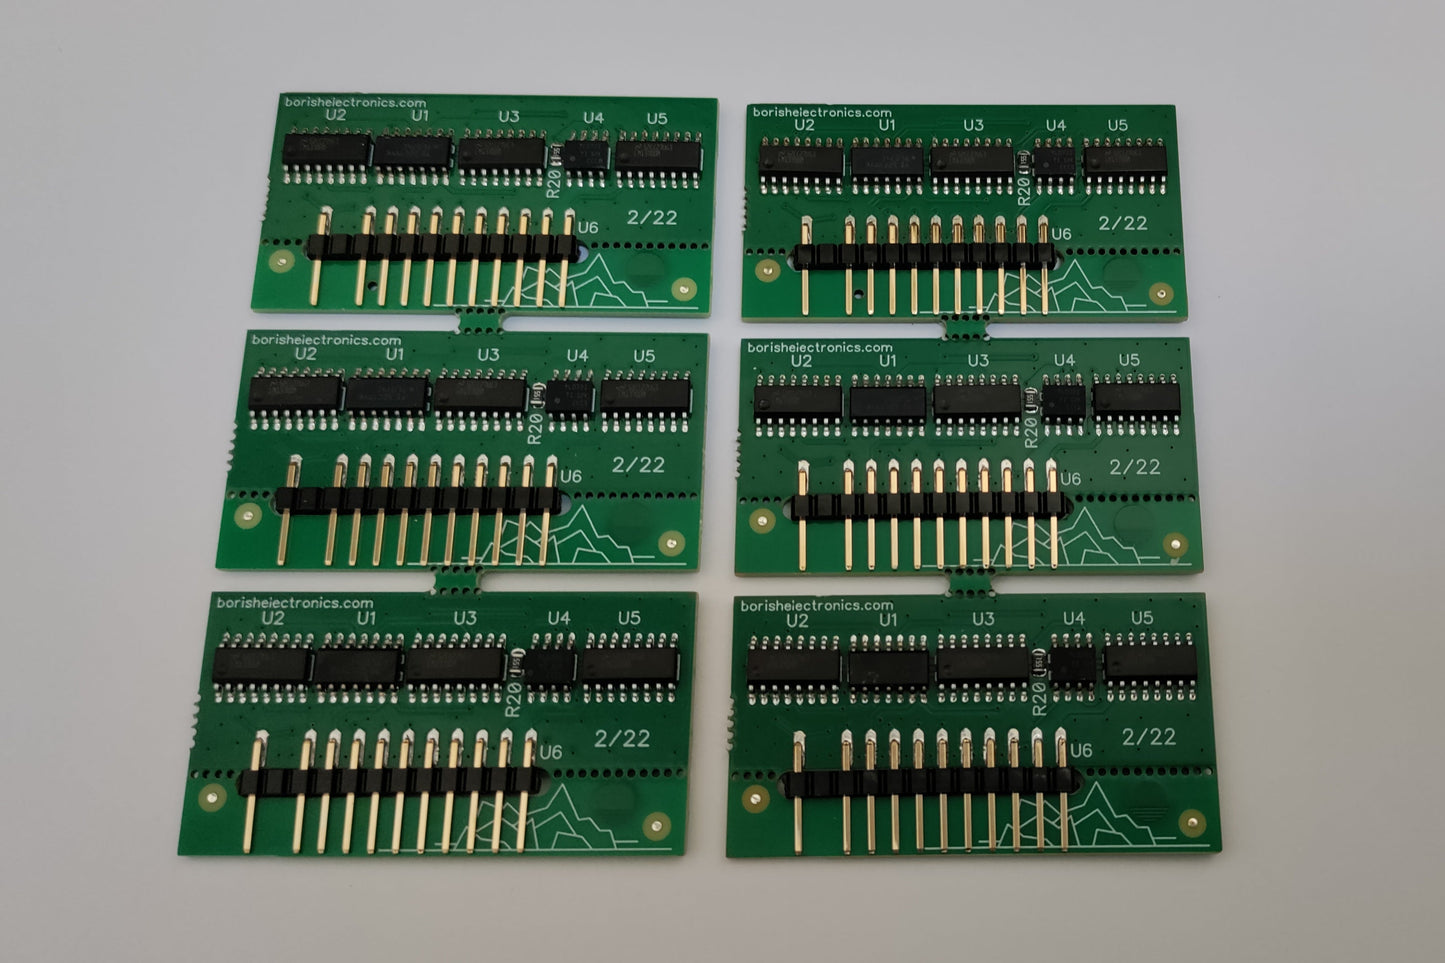
- Bad VCF / VCA ICs - The 80017A epoxy encapsulated ICs are the most common failure in Juno synths. We manufacture our own replacements that sound exactly the same and calibrate exactly the same as the originals;
- Bad Waveshaper ICs - The 5534 waveshaper ICs are also a very common fault. We manufacture new equivalents;
- Excessive noise requiring noise transistor replacement (Q21 on voice board). We use 2N3904 as a replacement and orientation / pin numbering is the same as original. Anything over 5V P-P noise is too much and can cause replacement ICs to latch momentarily;
- Bad sliders;
- Faulty M - H - L volume output switch;
- Bad volume potentiometer;
- Bad battery;
- Bad Memory IC that draws excessive current (Everything on the market is fake and we will have custom replacements soon);
- Bad solder joints on PSU board;
- Damaged circuit boards from bad repair jobs.
You can purchase common parts in our Products / Shop section.
Opening up the Juno 106 / HS-60 for service is simple. There are 2 screws in the upper section of each end block. Remove these and the lid will literally tilt back for service. That's It!
From bottom left to right in the Juno - 106 picture below, you have the voice board, the main board / CPU board and the power supply board. On the lid you have the chorus board and the front panel board. The Voice board is located under the keyboard on HS-60 & Juno - 106S models.

If your voice board needs to be removed, early voice boards require unsoldering and resoldering one wire connected to the ground post in the top left corner of the board. Later boards can be removed by simply disconnecting all of the connectors.
The VCF / VCA ICs are located on the voice board. They're the vertical attachments covered in an epoxy coating. For more info regarding their failure and why you shouldn't attempt to repair them, check out our 80017A Dilemma article.
There's a self test you can employ to find the location of a failed component. To enter the Test Mode, hold KEY TRANSPOSE down and turn the Juno - 106 ON; the display window will read [ -- _ ] if you entered test mode successfully. Pressing POLY 1 & 2 will instruct the computer to display the active voice being played in a rotational order.
Pin one for the waveshaper ICs and the VCF / VCA ICs is marked with an arrow point. Pin 1 is towards the case and away from the keyboard. The ICs are oriented as follows, from left to right:
- VCF / VCA 6
- Waveshaper 3
- VCF / VCA 5
- VCF / VCA 4
- Waveshaper 2
- VCF / VCA 3
- VCF / VCA 2
- Waveshaper 1
- VCF / VCA 1
We don't recommend employing sockets or headers when replacing 80017A or 5534 ICs. Solder is a far better solution and there is no risk of your chips wiggling out in transit. Replacement ICs will only fit in headers, and original ICs fit best in machined sockets. VCF / VCA ICs are a 2.54mm pitch and waveshaper ICs are a 2.0mm pitch.
It is suggested that you use a professional desoldering, not budget Chinese, tool to remove the ICs. Chinese stations have poor metallurgy, and the tips crumble after a few hours of use. The wick and iron method is not recommended. Thick rosin flux can give you high impedance shorts (200K Ohm), and you won't need to use flux at all if you use a desoldering tool. Only no-clean liquid flux will work properly.
For calibration, you will need a high quality multi-meter, an oscilloscope (digital model suggested), a frequency counter and a miniature screwdriver. A copy of the service manual with detailed calibration instructions is here:
https://archive.org/details/synthmanual-roland-juno-106-service-notes
Shipping Instructions for Your Gear
- Prepare the Equipment: Remove all unnecessary fasteners, and cables. If shipping your Juno 106 voice board, please remove the mounting screws.
- Pack Securely: Follow the packaging guidelines in the video below to ensure safe transit.
- Choose a Reliable Carrier: Use UPS or FedEx for shipping. Do not use USPS due to unreliable service in our area.
- Insure and Track: Insure the package for its full value and request signature confirmation to protect against loss or damage.
Note: We are not responsible for lost or damaged items, so please follow these steps carefully to avoid issues with theft or mishandling during shipping.
Here's a great video that explains how to package a synth:
https://www.youtube.com/watch?v=Z8LRUTswkq8
Feel free to contact us with any questions.
Borish Electronics
Custom Roland Juno 106 Chip 80017A
Share


